

Quickstart
Konfidence is a software delivery framework for microservice-based software-as-a-service applications. It helps teams deliver complex applications consistently across multiple environments by using immutable, versioned application vectors and a structured release model.
Before you install Konfidence, it helps to know what this setup is for: teams promote the same verified application version across environments instead of rebuilding or reconfiguring it for each deployment. This makes releases easier to reason about as systems, teams, and release frequency grow.
To evaluate Konfidence for your own application, read Prepare your application for the required service integration. The current Kubernetes deployer supports local targets; remote targets are incomplete. Review the high-availability status before planning a production installation.
Cluster setup
Use the Quickstart script to create a local Kubernetes cluster with Konfidence installed. By the end of this setup, you’ll have a running instance and access to its dashboard.
Before you begin, install the following tools:
- Docker — make sure the Docker engine is running.
- kind — creates the local Kubernetes cluster.
- kubectl — lets you interact with the cluster.
- Helm — installs the Konfidence components.
The complete example, including the production deployment in the next guide, was tested with 4 CPUs and 8 GB RAM allocated to the Docker environment. A test with 2 CPUs and approximately 4 GB RAM left production pods pending with Insufficient cpu. Use the tested allocation as a starting point; it is not a measured minimum.
Run the installation:
curl -fsSL https://raw.githubusercontent.com/konfidence-project/konfidence/main/hack/quickstart/quickstart.sh | shThe script creates a kind cluster named konfidence-quickstart and selects it as your current kubeconfig context. It then installs these components in order:
- Flux — third-party controllers that reconcile Helm and Kustomize deployments. Konfidence builds on top of them.
- Konfidence — the controller and API, which also serves the dashboard.
- Kubernetes Landscape Orchestrator — the Konfidence component that uses Flux to deploy Helm charts and Kustomize configurations.
- Vector Data Service — the Konfidence runtime component that lets applications read configuration and deployment results for a vector at runtime.
The script waits for the Flux deployments and Helm releases to become ready. Running it again reuses the cluster and updates the existing installation.
If you’d like to explore how the installation works or try the steps manually, take a look at the Quickstart script. Its comments explain each step and the components being installed.
Once the installation completes, check the Konfidence deployments:
kubectl get deployments -n konfidence-systemYou should see output similar to this:
NAME                                READY   UP-TO-DATE   AVAILABLE   AGE
konfidence                          1/1     1            1           61s
konfidence-api                      1/1     1            1           61s
kubernetes-landscape-orchestrator   1/1     1            1           42s
vector-data-service                 1/1     1            1           27s
The READY column should show that all replicas are ready.
Check that the Flux controllers are also ready:
kubectl get deployments -n flux-systemFor every Flux deployment, the READY column should show that all replicas are ready.
Deploy the example application
The example application manages candidates and interview bookings. Its two services are packaged as artifacts and delivered together in one vector. It publishes its artifacts to a public registry. Apply the prepared resources in order. The wait commands ensure that the namespaces exist before you apply resources to them.
Create the project:
kubectl apply -k 'https://github.com/konfidence-project/example-app/hack/quickstart/project?ref=main'
kubectl wait --for=jsonpath='{.status.conditions[?(@.type=="NamespaceReady")].status}'=True \
  project/example-app --timeout=60s
Create the dev and prod landscapes:
kubectl apply -k 'https://github.com/konfidence-project/example-app/hack/quickstart/landscapes?ref=main'
kubectl -n kden-p-example-app wait --for=jsonpath='{.status.conditions[?(@.type=="NamespaceReady")].status}'=True \
  landscape/dev landscape/prod --timeout=60s
Create the stages, deployment targets, database, and promotion config:
kubectl apply -k 'https://github.com/konfidence-project/example-app/hack/quickstart/environment?ref=main'Install the Vector Data Service in each landscape namespace:
for ns in kden-l-dev kden-l-prod; do
  helm upgrade --install vector-data-service oci://ghcr.io/konfidence-project/charts/vector-data-service \
    --version 0.0.0-4f194adf3c2e211514d41c59d1a446275bb093e3 \
    --namespace "$ns" --wait
done
WARNING
The per-landscape vector-data-service install is temporary until the platform provisions it automatically for each landscape.
The example application deploys to the dev-eu12 stage. Watch the ACTIVE-VERSION column, which stays empty until the deployment succeeds:
kubectl -n kden-l-dev get stage dev-eu12 -wOnce ACTIVE-VERSION shows a stage version, the application is running. Press Ctrl+C to stop watching.
If activation does not complete, inspect the pods and events:
kubectl -n kden-l-dev get pods
kubectl -n kden-l-dev get events --sort-by=.lastTimestamp
If pods are Pending and events report Insufficient cpu or Insufficient memory, increase the resources available to the Docker environment. For other rollout problems, see Stage troubleshooting.
Open the dashboard
The local Quickstart does not yet include an ingress setup for the dashboard. To access it from your computer, use port-forwarding to connect to the Konfidence API, which also serves the dashboard:
kubectl -n konfidence-system port-forward svc/konfidence-api 8090:8090Keep this command running and open http://localhost:8090 in your browser. You should see the Konfidence sign-in page:
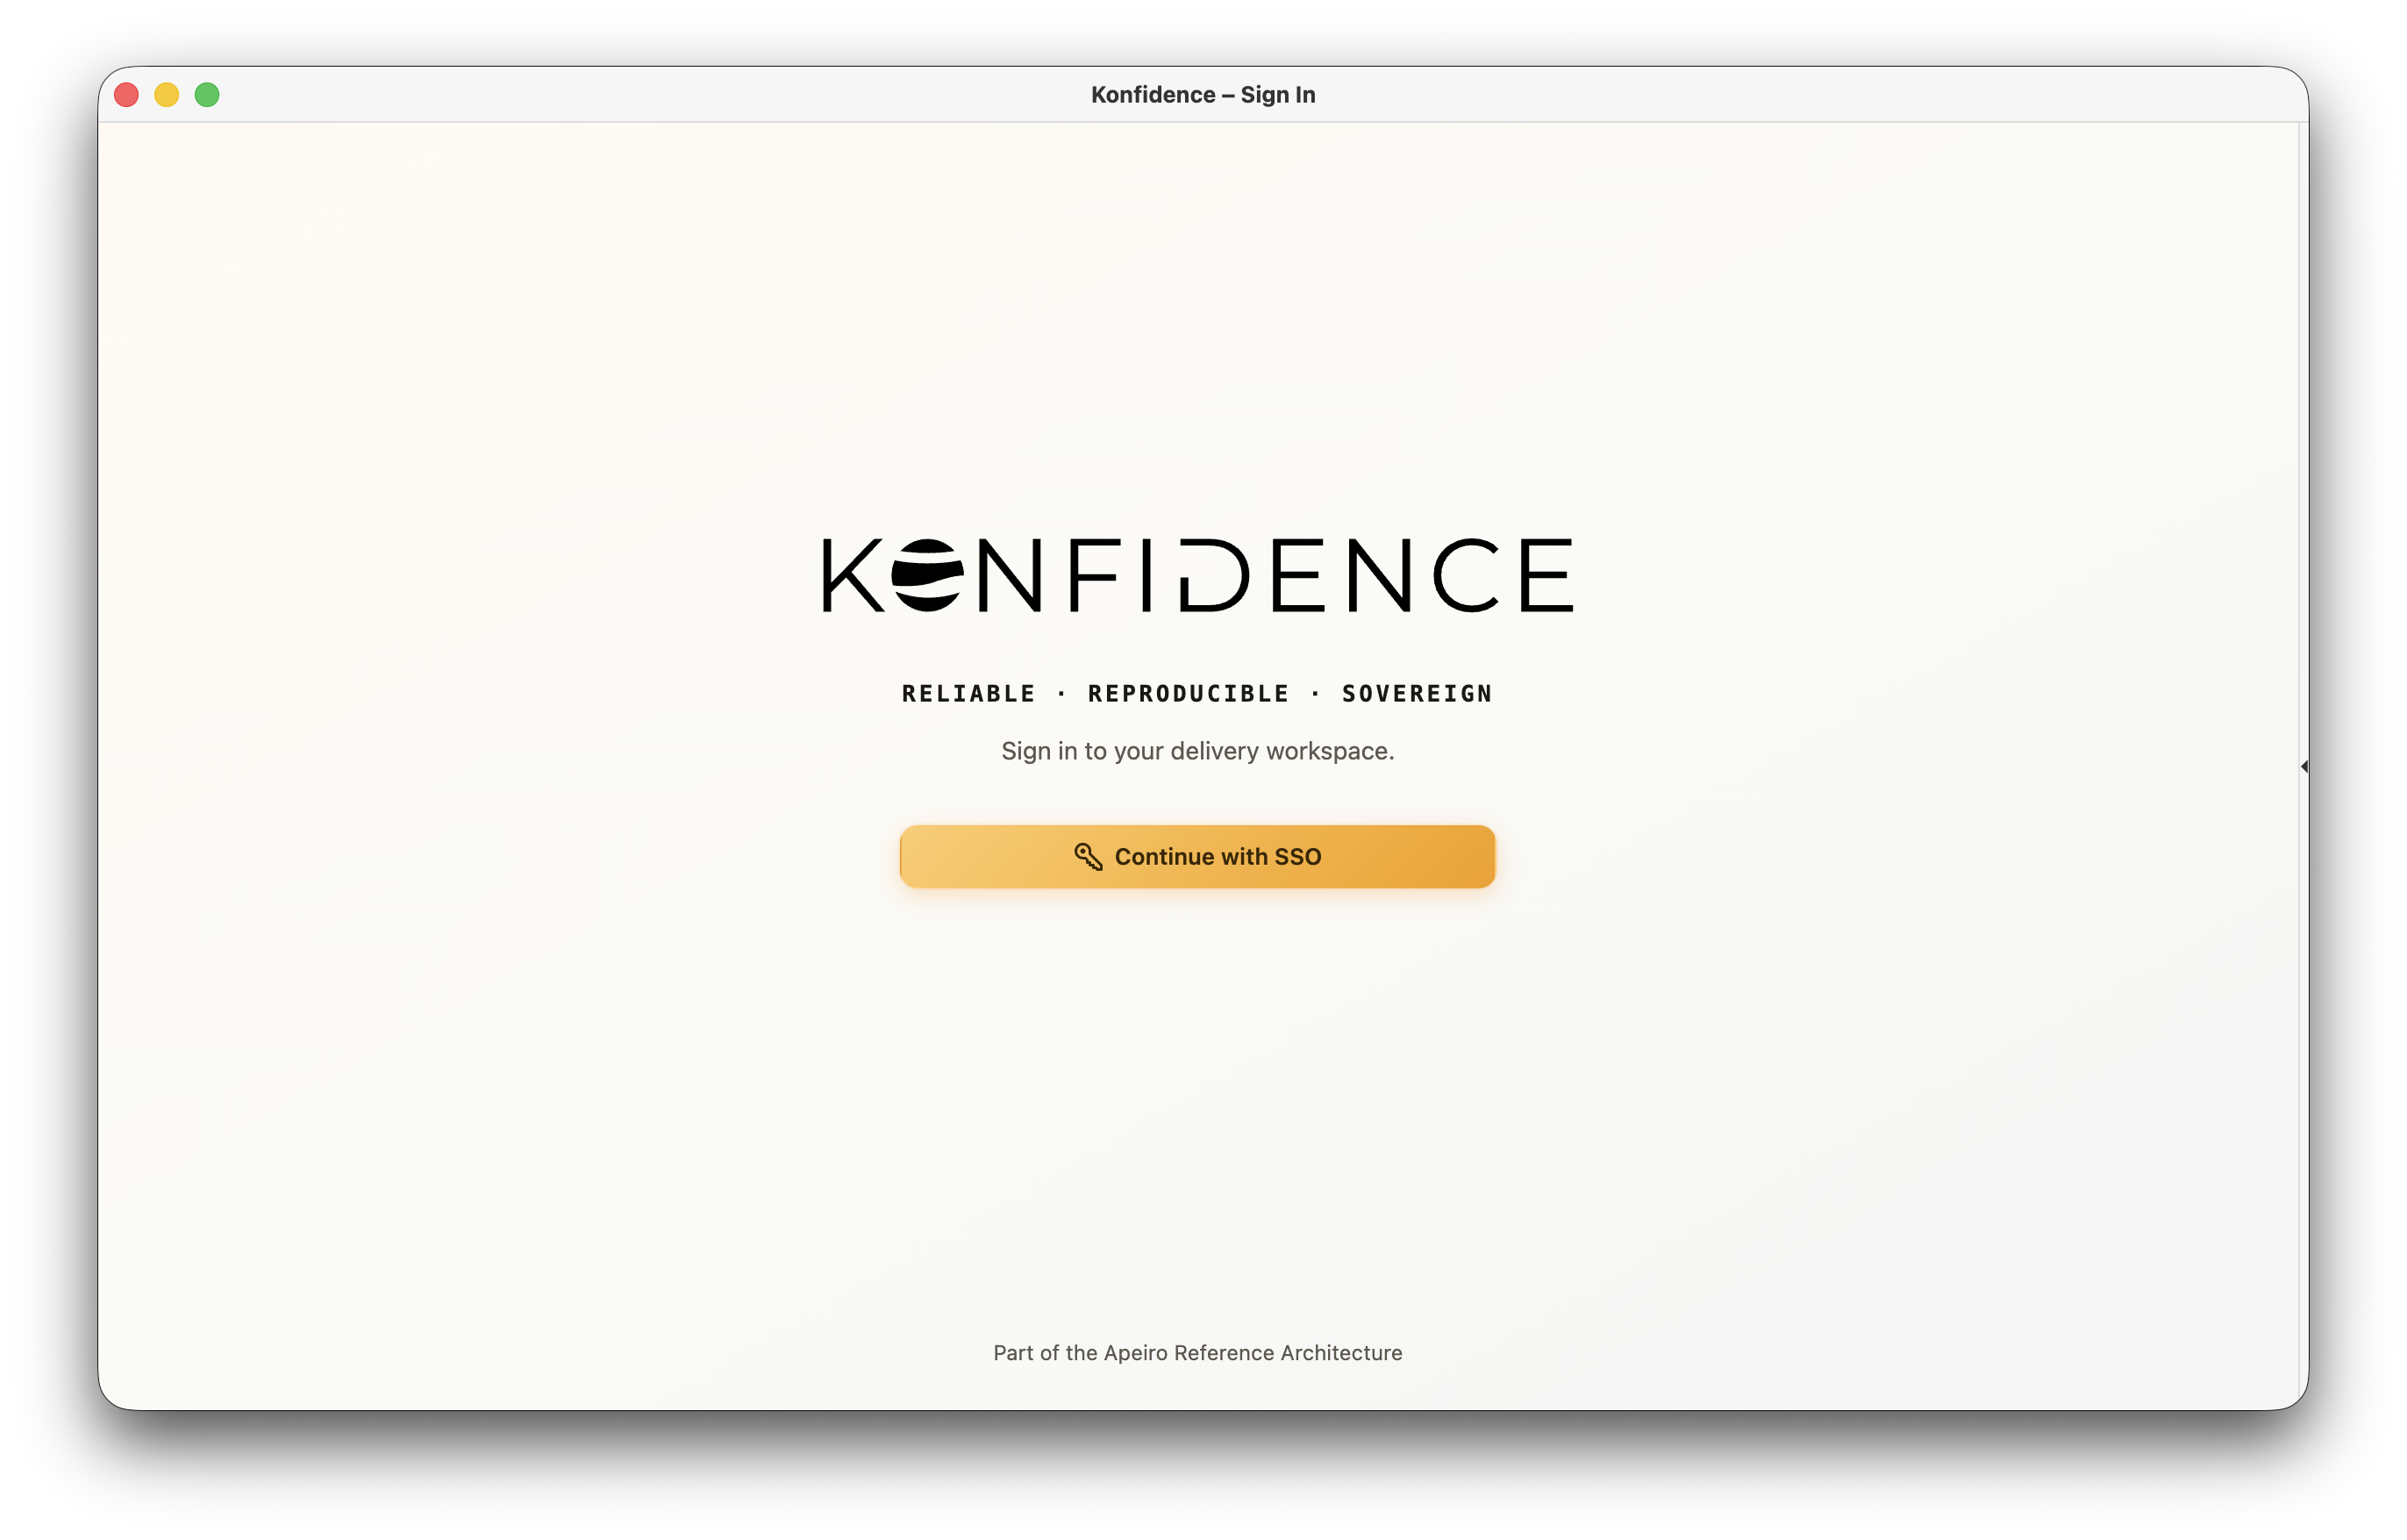
Select Continue with SSO to sign in as Local Admin. No external identity provider is required.
Sessions are stored in memory, so you’ll need to sign in again if the API restarts.
Select the Example App project to see the application running in dev-eu12 and a promotion to prod-eu12 waiting for approval.
Clean up
Keep the cluster running if you’re continuing with Deliver an application. When you’re finished exploring Konfidence, stop the port-forward with Ctrl+C and remove the cluster:
kind delete cluster --name konfidence-quickstartThis deletes the konfidence-quickstart cluster and all workloads and data stored in it.
Next steps
Your local Konfidence instance and the example application are ready. Continue with Deliver an application to inspect the deployment, approve its promotion to production, and book an interview through the running application.